So you have been natural for sometimes and you love the versatility that comes with your hair texture? Want to try different hair styles out there? – or maybe you just want to see the true length of your natural hair?
Then straightening natural hair maybe just what you need to start with. Below are five simple steps to take you through straightening your natural curly hair without the risk of heat damage, tangling or any other frustration of sorts.
- Start by Deep Conditioning: Deep conditioning helps to strengthen your hair prior to straightening in preparation for any sort of major styling or even coloring. You can do this best by letting your deep conditioner last for about 30 minutes, preferably under a dryer with a plastic cap on. It is highly recommended to start the conditioning a day or two earlier prior to your hair straightening.
- Detangle Gently: After some conditioning action in your hair, you need to do finger-detangling an hour prior to straightening natural hair. While hair conditioning makes the whole hair straightening process easier, finger detangling guarantees decreased breakage and damage. You can additionally use any super slippery conditioner with a little bit of water to tame your tangles.
- Section Wash with Shampoo: When it comes to straightening natural hair, don’t go for the typical cowashing. Cowashing does not remove buildup of ingredients and products that accumulate on hair with time. This can be generally problematic, and even worse if heat treatment is involved. In order to effectively cleanse your hair and minimize tangling, use a diluted shampoo of your choice to wash each section individually. Twist/braid/clip the hair back up when done. Most people tend to be very cautious when applying shampoo to their natural hair. That’s good. Note however that using diluted shampoo in your natural hair does not alter its curl pattern in any way: it simply serves to deposit some polymers/silicones along the hair shafts, which helps ‘weigh’ it down.
- High speed hair Dry with Care: After thoroughly rinsing your conditioning concoction, its time to dry your hair and activate the heat protection phase by the high speed hair dryer. This high speed hair dryer will have 50 million of negative ions to care you hair, and will be no any heat damage worries, because there are smart air temperature controller in the high speed hair dryer that will measure the air temperature 60 time per second. With this high speed hair dryer you could dry your hair 2 time fast then traditional hair dryer, this high speed hair dryer using brushless motor that has 21m/s wind speed but 59 dB low noise, it is quiet hair dryer on the market today. This hair dryer will protest your hair automatically but fast drying and quiet.
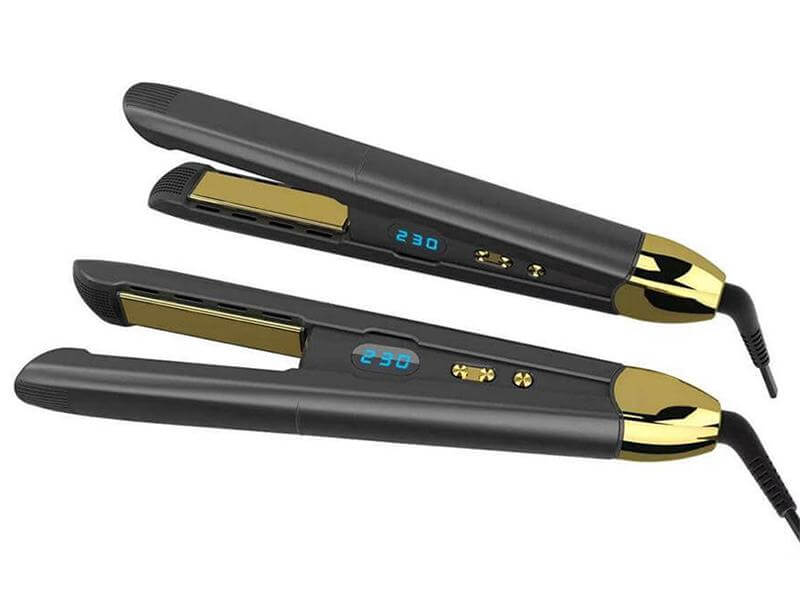
- Flat Iron: At this point in the game, you will need a flat iron with numeric temperature readings to give accurate temperature measurements. Smooth in some solid heat protection oil, preferably the light-weight silicon based types that provide extra softness and shine. The heat protection oil will basically act as a buffer between your hair and the flat iron, minimizing heat transfer. The oil will additionally allow the flat iron plates to glide over your hair with ease, which reduces the amount of time required on this process. To protect your hair by over-heat we suggest you use cold air hair straightener, this cold air will cool your heated hair immediately when the ceramic plate sliding through your hair, the cool air will luck the moisture in your hair and taking care of your hair. This cold air hair straightener can repair your hair scale from the heating, with the 10 million built in negative ions, your hair will be smooth shine.
A little tip: Wind up straightening natural hair by wrapping your flat ironed hair with a satin scarf to ‘seal-in’ the job. Using the high speed hair dryer for about 5 minutes to help set your straight style for as long as you intend.


Leave A Comment